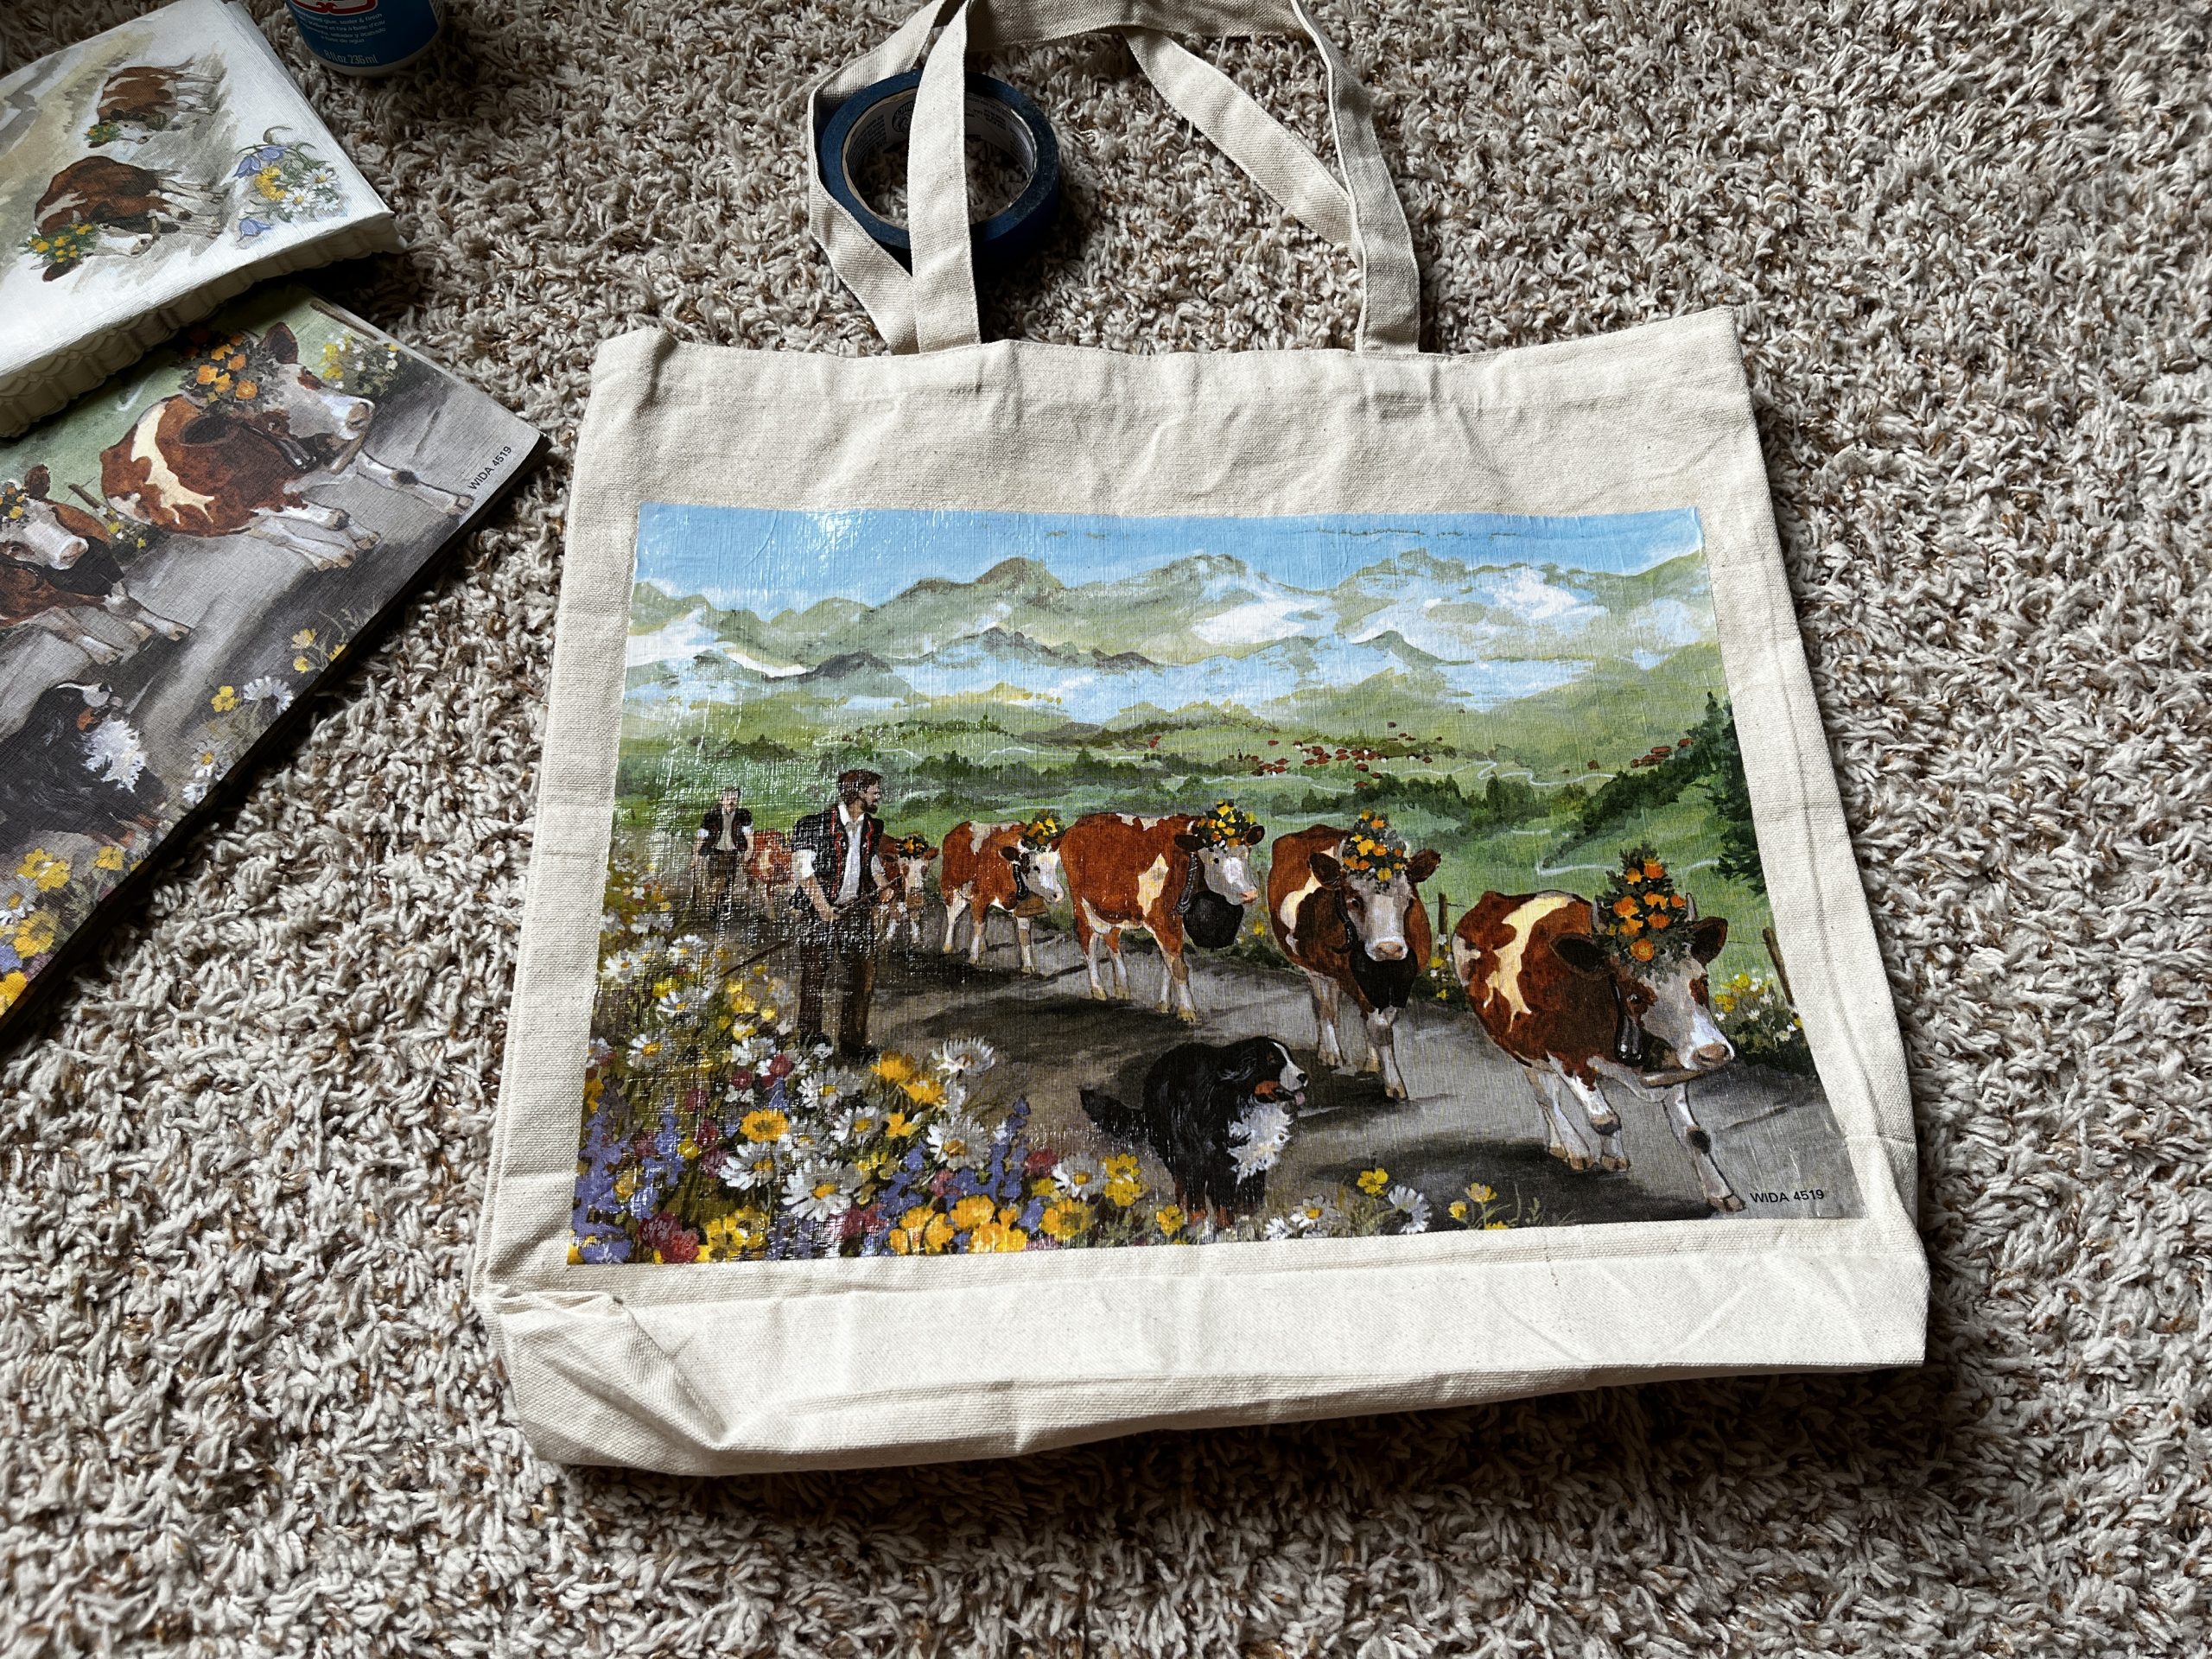
I consider myself a pretty discerning thrifter, but I let things slip through the cracks from time to time. Sometimes, I’m so eager to pick up a cool thrifted find that I don’t pay attention to the actual item I’m buying. (Especially if it is very inexpensive!) During a thrifty adventure one sleepy Saturday morning, I noticed a shrink-wrapped item that I thought was a mouse pad and keyboard mat set. I had to buy it — the bucolic, cottage-inspired design immediately caught my eye and gave me The Banshees of Inisherin vibes. And there was even a cute herding pup on it — as a dog decor connoisseur, I had to get it!
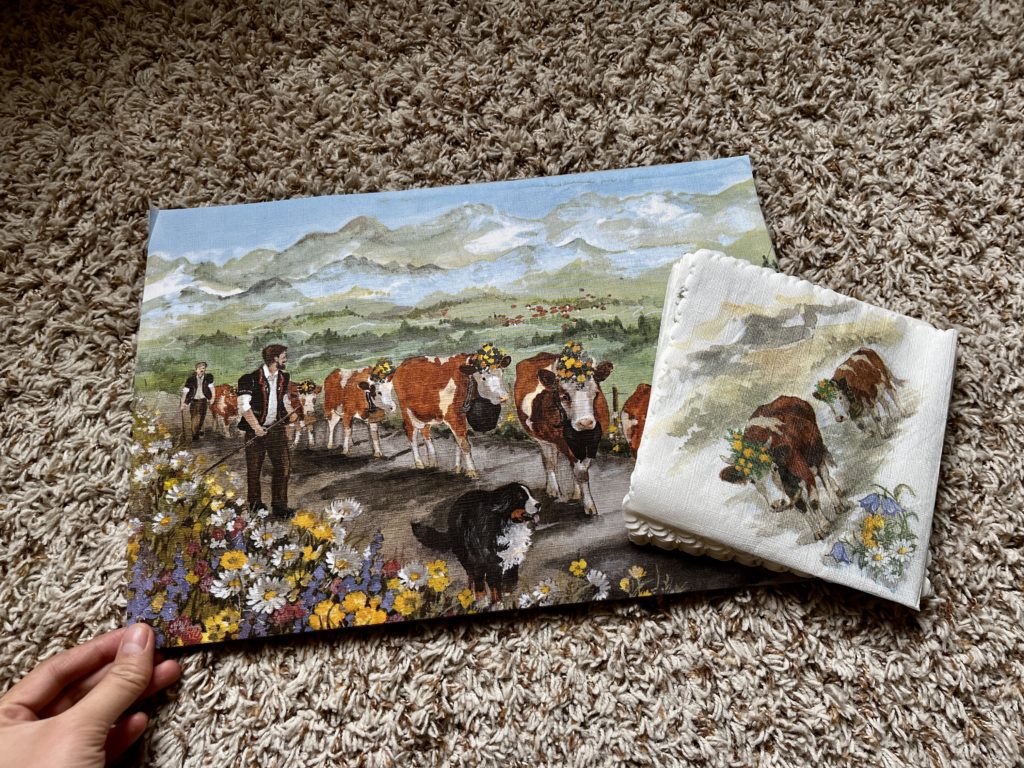
When I came home, I realized that I had actually bought, wait for it, dozens of printed napkins and napkin placemats! Well, it now made sense that the set was only $1.25 when the shopkeeper rang it up for me. While I mostly see people thrift for clothes and home decor, secondhand shops can be a treasure trove for entertaining supplies like napkins, plates, cups, and glasses. But what exactly does an introvert do with a bunch of thrifted decorative napkins? As a certified homebody, I wasn’t expecting company any time soon. (Don’t get it twisted: I like the idea of entertaining guests but live too far away from my friends to do it regularly.)
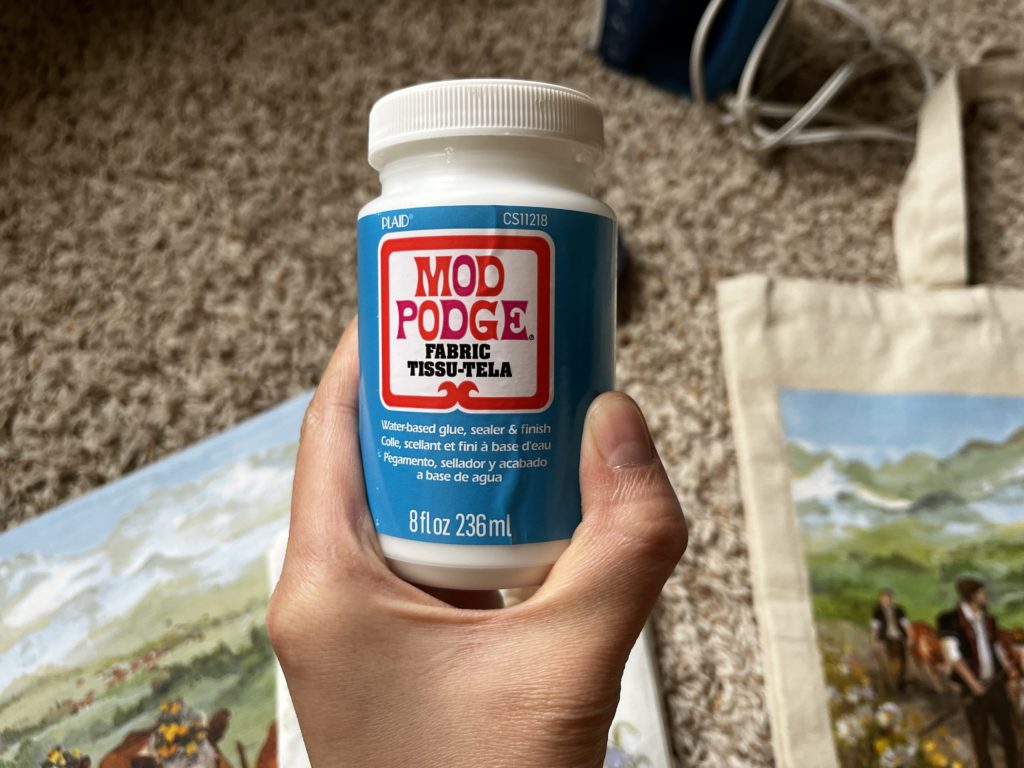
After consulting my mother (who’s a crafting/upcycling maven through and through), I decided to repurpose the napkins by way of decoupage. I didn’t want to decoupage random tchotchkes, so I researched ways to decoupage napkins onto fabric. After watching many crafting TikToks and shorts, I decided to decoupage a tote bag, ordering a canvas bag and special fabric Mod Podge from JoAnn Fabrics. My $1.25 thrift find ended up costing me $15 in craft supplies, but that’s just how the cookie crumbles sometimes.
I have a confession to make: I’ve never actually done decoupage on fabric before. But, by a stroke of luck, I came across this super helpful video from Decoupage D.I.Y. with Joan-Marie Domino and embarked on my napkin crafting journey!
How to DIY decoupage a canvas tote bag with decorative napkins
(In which I assert my authority as a decoupage expert after ONE semi-successful decoupage project. A lot of the steps are derived from Joan-Marie’s vlog, but I adjusted some of the instructions because I didn’t have a few of her tools.)
Materials needed for doing napkin decoupage on canvas fabric
- Canvas tote
- Cardboard insert
- Painter’s tape
- Decorative napkin(s)
- Broad paint brush
- Fabric Mod Podge (this is more adhesive for crafts involving fabric)
- Household iron
- Parchment paper
- Americana Dura-Clear sealant (optional)
Instructions on how to decoupage a canvas tote bag with napkin paper
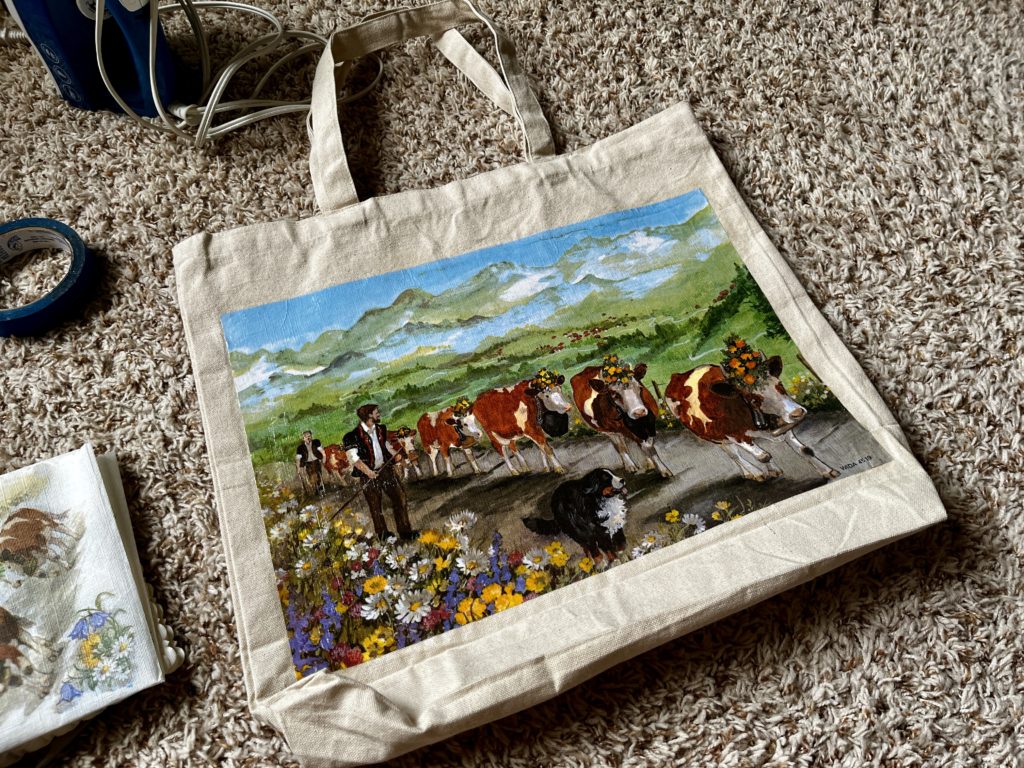
Here’s how to decoupage a canvas tote bag with printed paper napkins from the thrift store!
- Slip a cardboard insert piece into the bag to keep the Mod Podge from sticking to the other side. (I simply used the cardboard that came with my napkins.) The canvas is pretty thick, but this is a simple enough precaution to take.
- Create a border around the decorative napkin with painter’s tape.
- Remove the napkin and apply a thin layer of Fabric Mod Podge onto the canvas surface. (Fabric Mod Podge is thicker than regular Mod Podge, so it helps your napkin adhere to the canvas surface better.) Allow the Mod Podge to dry for two hours.
- After removing the tape, lay the napkin onto the area with dried Mod Podge.
- Lay a piece of parchment paper over the napkin, then use an iron (set to the cotton setting, though you could try a lower setting first) to adhere the napkin to the canvas. A crafting mini iron can be handy, but I couldn’t justify buying one just for this project.
- Apply another layer of Mod Podge on top of the napkin. Allow the Mod Podge to dry.
- Layer parchment paper over the napkin and iron the piece down again.
- For extra security, apply a layer of sealant. Allow it to dry.
All in all, this was a pretty easy project, but there’s a lot of waiting time for drying!
Some thoughts/a project post-mortem
- Next time, I will use a finer paint brush to apply Mod Podge around the edges of my napkin for extra security — I noticed a bit of peeling around the corners and had to go in with extra Mod Podge and sealant.
- I borrowed a glossy sealant from my mom, but I plan on browsing my local JoAnn Fabrics for a matte sealant to use on future projects. I just want a finish that’s a bit less in your face.
- Fabric Mod Podge fumes are STRONG. In addition to cracking open a window, I’m going to wear my KN95/N95 the next time I work with this type of Mod Podge.
- To appease my inner germaphobe, I will attempt hand washing the tote after three days. I’ll report back later. Wish me luck.
- I will search my local JoAnn to see if they have any other canvas or fabric bases for future projects. (Spoiler alert: They always do, and I always have coupons!)
Other DIY decoupage ideas for future projects
- Canvas zipper bags
- Aprons
- Mini totes
- Clay pots (with a white acrylic paint base)
- Bucket hats
- Jewelry dishes
- Coasters
Admittedly, I haven’t been on a crafting high for a while. Last Christmas, I went through the entire audiobook of Rebecca while painting wooden holiday coasters and ornaments for my family. I still have an audiobook of The Picture of Dorian Gray to get through and dozens of printed napkins to use up, so this holiday season may be another crafty one yet!